You can configure Mondido to automatically send a receipt to your customers after each successful payment.
This is done using a webhook.
Follow the steps below to set everything up:
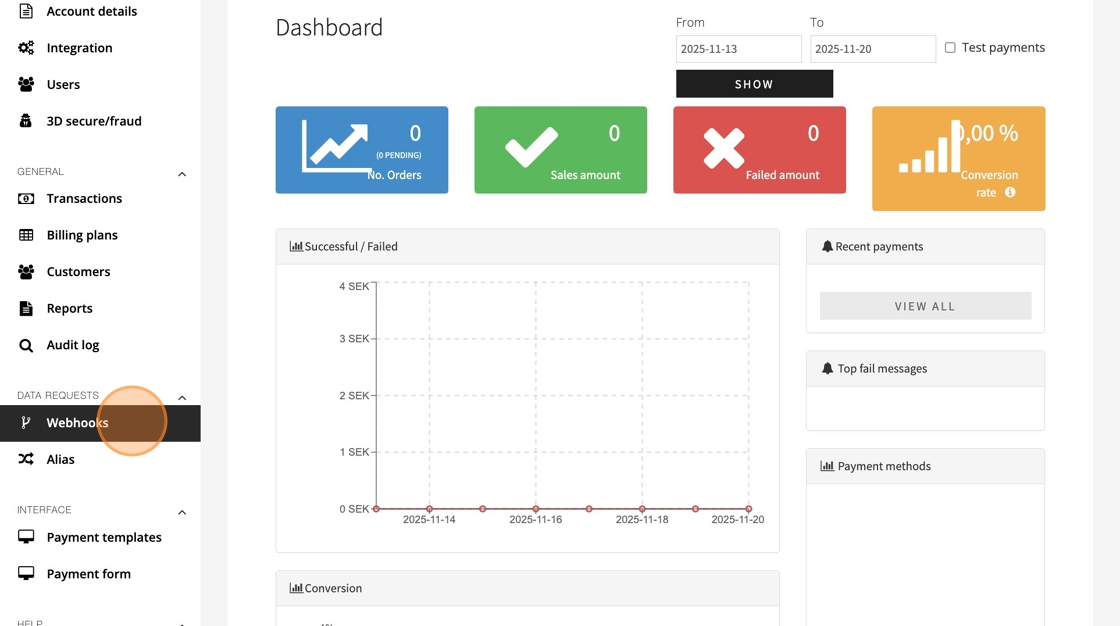
1. Navigate to Webhooks
Log in to your Mondido dashboard.
In the left-hand menu, go to Webhooks.

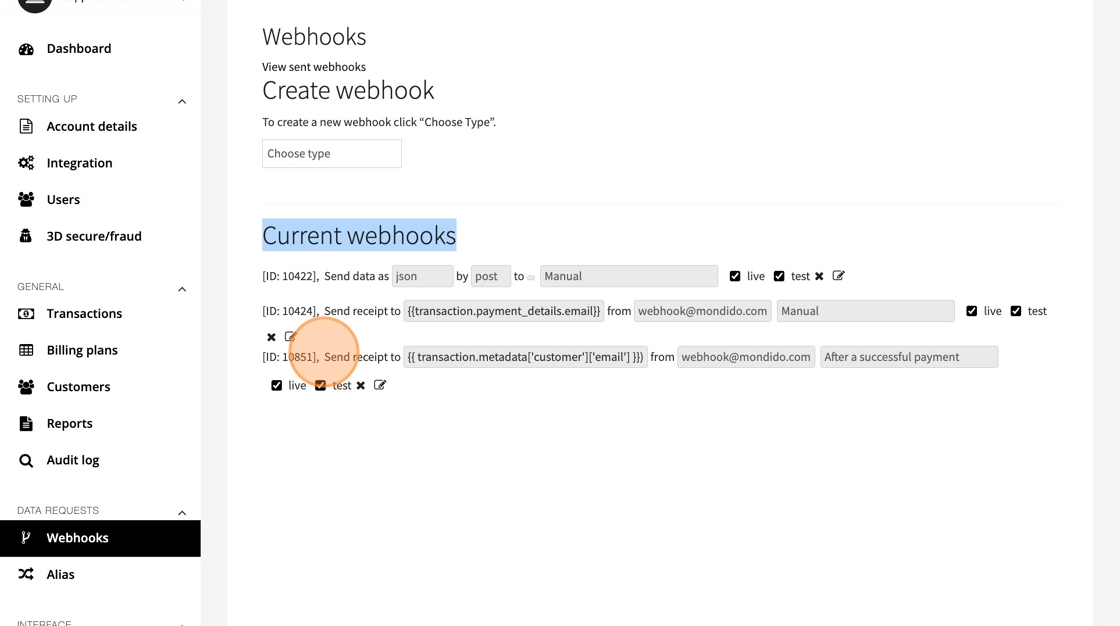
2. Click "Webhooks"
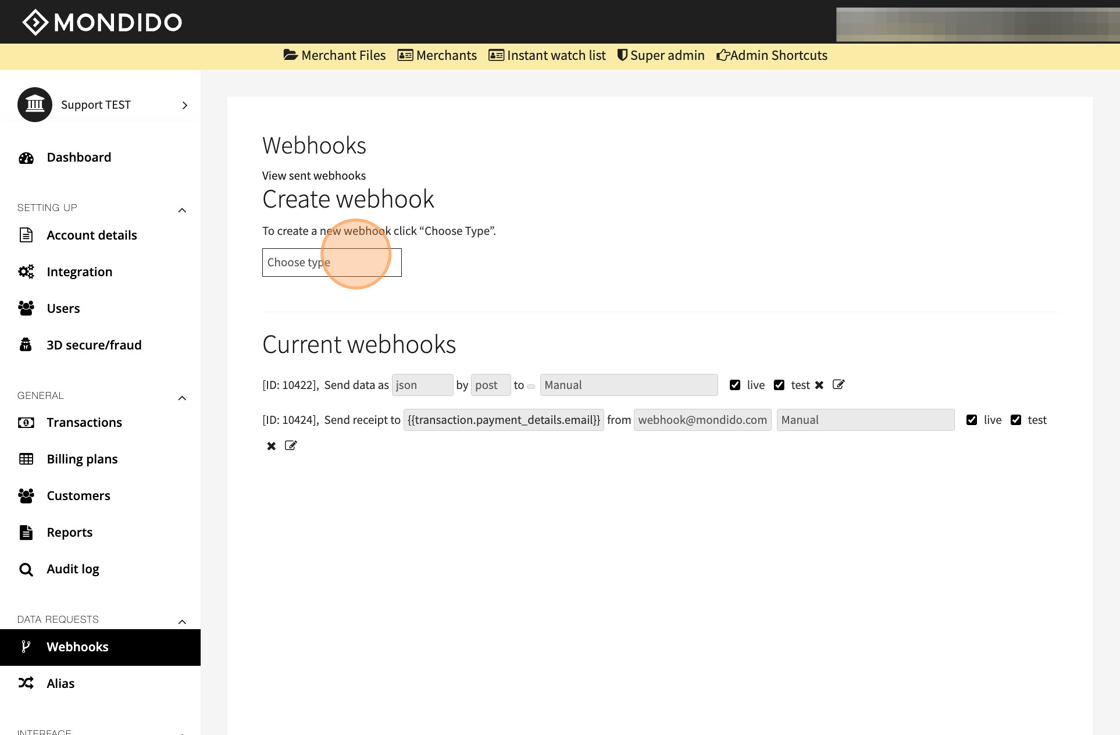
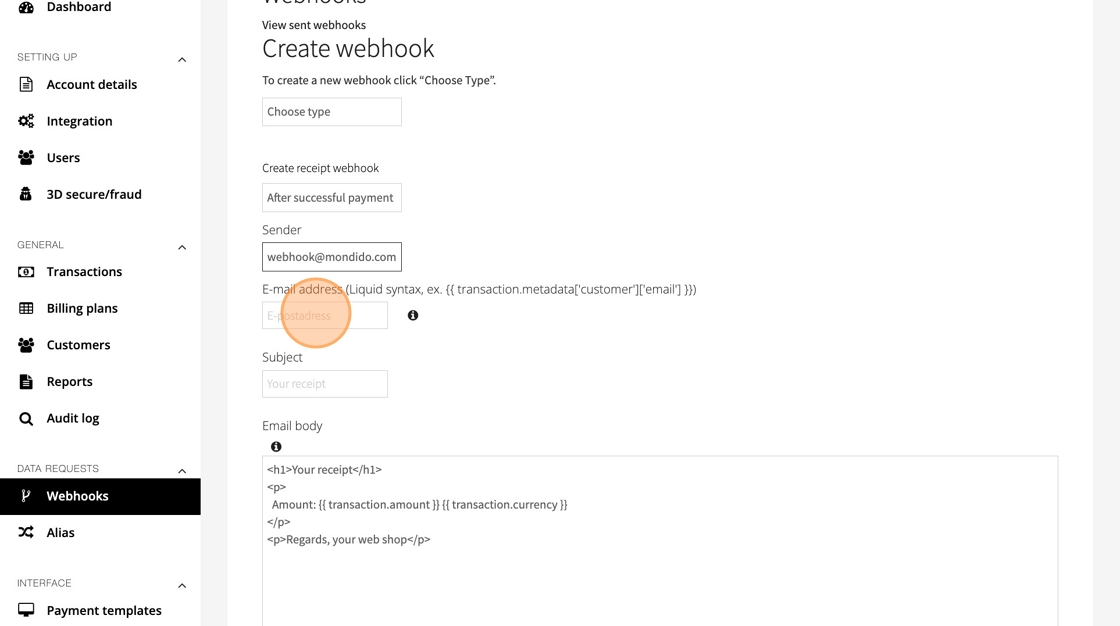
3. Create a New Webhook
Under Create webhook, click Choose type and select Receipt from the dropdown.
4. Click this dropdown
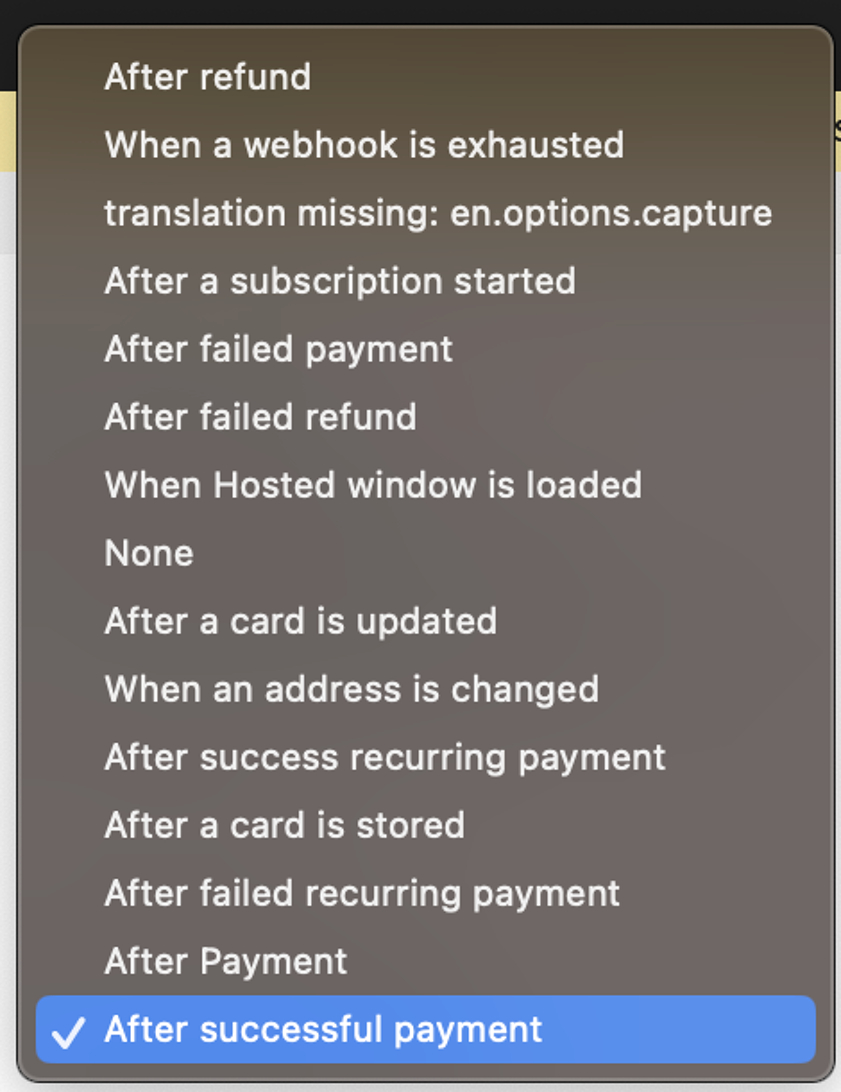
5. Select When the Webhook Should Trigger
From the next menu, choose After successful payment.
This ensures the receipt is sent only when the payment has been completed.
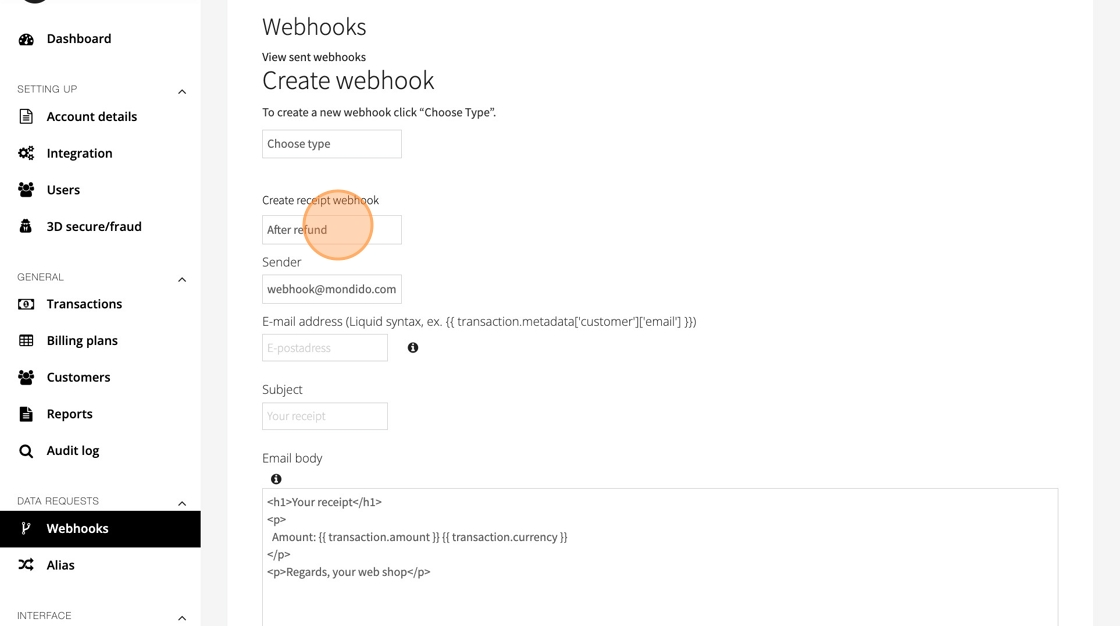
6. Choose a Sender Email Address
Select the Sender address.
This is the email your customers will see as the sender of the receipt.
To add or manage sender addresses, go to Integration → Apps → Email addresses.

7. Enter the Customer’s Email Address
You now need to enter code that tells Mondido where to find the customer’s email address in the transaction object.
This depends on your metadata format. Examples:
Shopify:
{{ transaction.metadata['order']['customer']['email'] }}WooCommerce:
{{ transaction.metadata['customer']['email'] }}Custom API integration:
You're defining the metadata yourself.If unsure:
{{ transaction.payment_details.email }}is usually a safe choice.
8. Write the Email Subject
Enter the subject line your customer will see.
For example: “Your payment receipt”
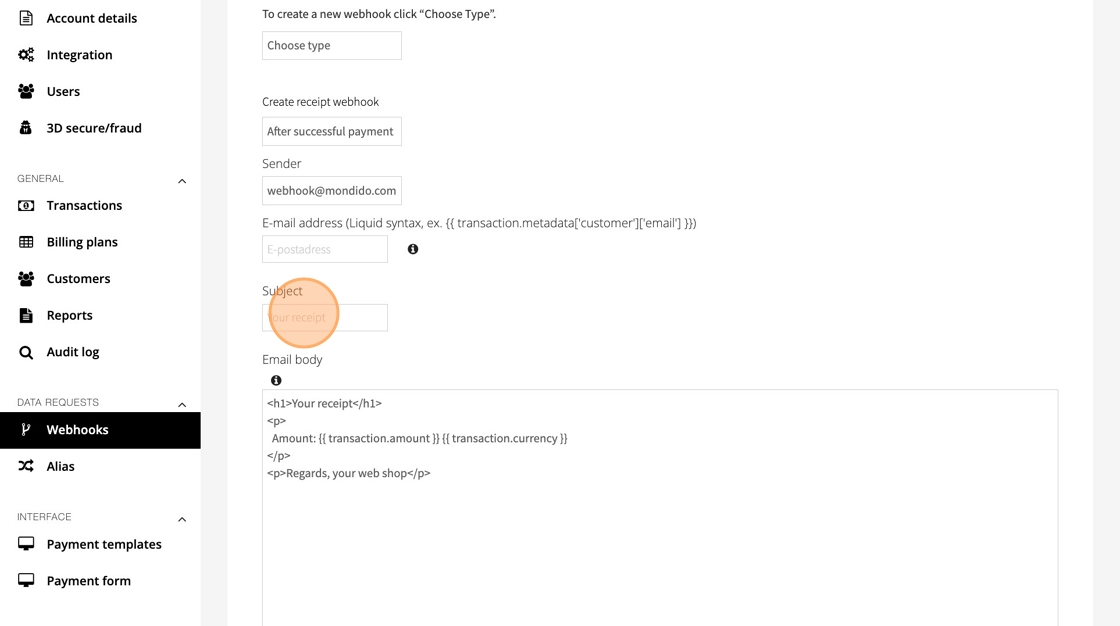
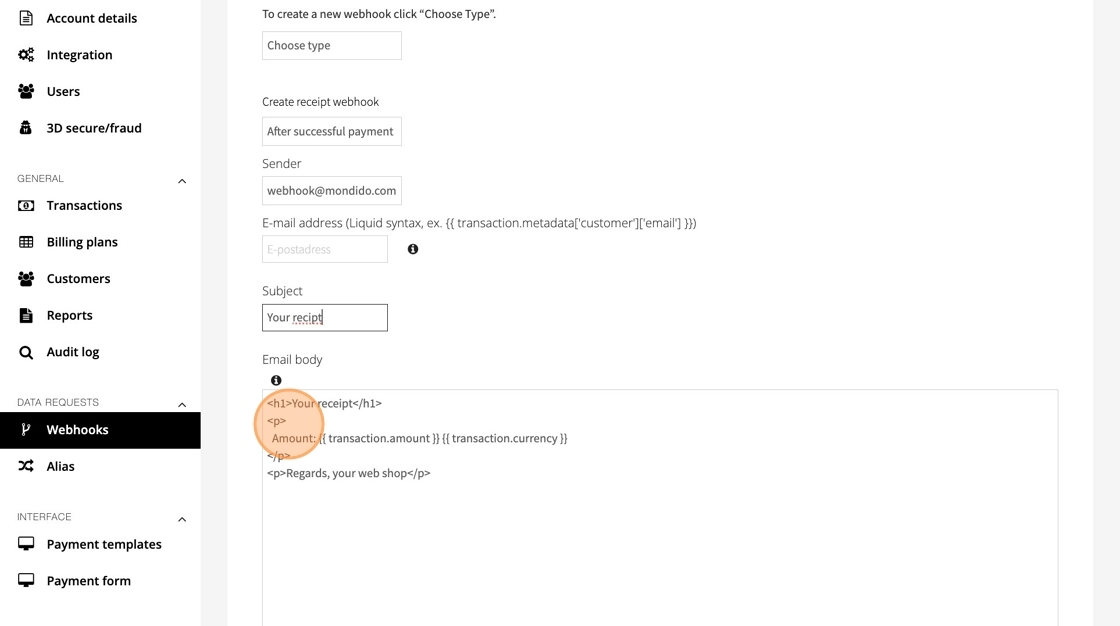
9. Write the Email Body
This is the content of the receipt email.
You can freely edit the layout and include any transaction data your metadata supports.
Useful variables include:
- Amount: {{ transaction.amount }}
- VAT: {{ transaction.vat_amount }}
- Currency: {{ transaction.currency }}
- Masked card number: {{ transaction.card_number }}
- Customer name: {{ transaction.metadata['customer']['name'] }}
- Customer email: {{ transaction.metadata['customer']['email'] }}
- Product description: {{ transaction.metadata['products']['0']['description'] }}
Make sure the metadata structure matches your setup.
When you’re done, your full email template might look similar to this (example only):
<p>Thank you for your payment!</p> <p>Amount: {{ transaction.amount }} {{ transaction.currency }}<br> VAT: {{ transaction.vat_amount }}<br> Card: {{ transaction.card_number }}</p> <p>Customer: {{ transaction.metadata['customer']['name'] }}<br> Email: {{ transaction.metadata['customer']['email'] }}</p> <p>Product: {{ transaction.metadata['products']['0']['description'] }}</p>
10. Add tag "Send receipt"
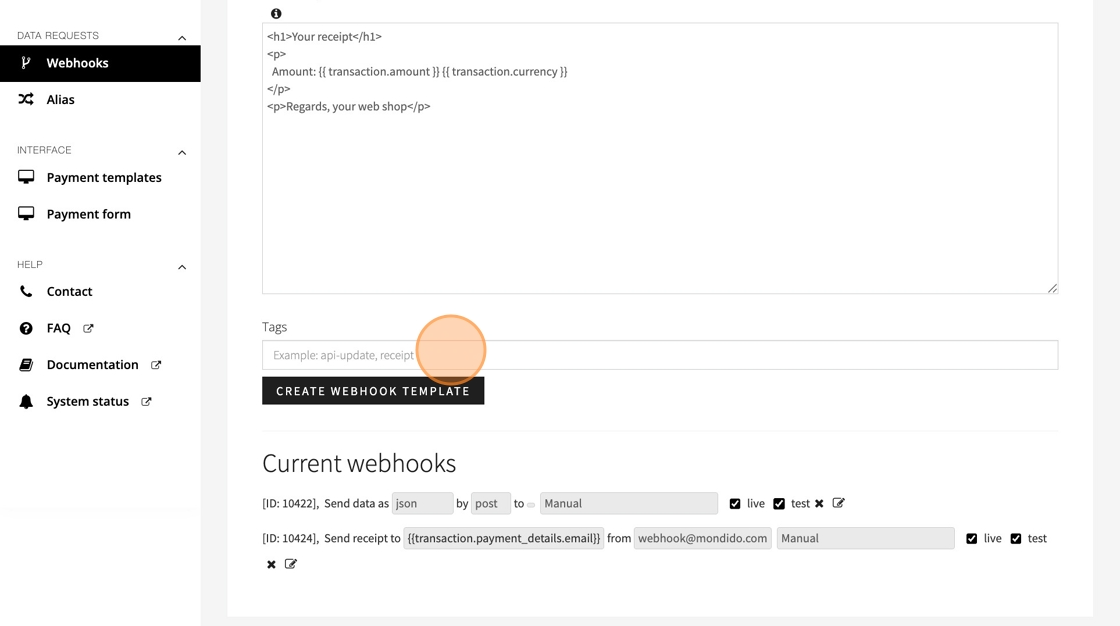
11. Click "Create Webhook Template"
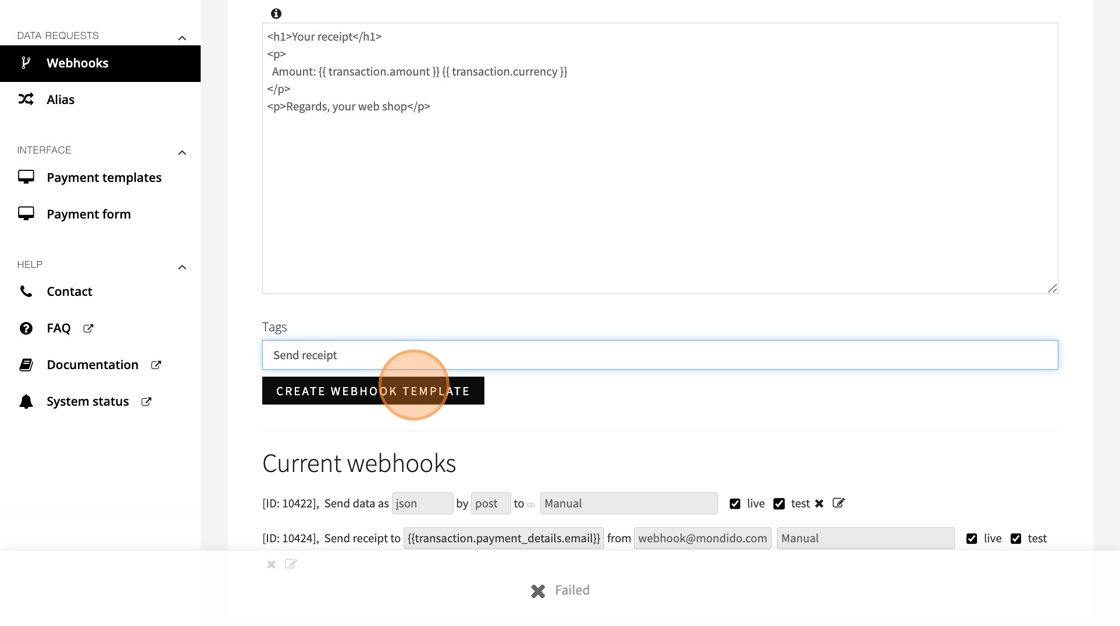
12. Now you can see, and edit your webhook under "Current webhooks"
13. Remember to "Save" if you change anything.

14. How to Test Your Receipt
Go to Payment Form https://admin.mondido.com/en/payment-formin the dashboard and run a test payment.
You should receive the receipt email shortly after the test payment succeeds.
If you have any questions, feel free to contact us at support@mondido.com
or through the Mondido portal by clicking “Contact us”. We’re always happy to help.
Mondido Support
Was this article helpful?
That’s Great!
Thank you for your feedback
Sorry! We couldn't be helpful
Thank you for your feedback
Feedback sent
We appreciate your effort and will try to fix the article